Hardware
Blind hole depth measurement
Blind hole depth measurement in industrial manufacturing is very widely used, but the depth of some miniature blind holes is difficult to measure by contact due to the angle and position, etc. Due to the limitation of the contact probe diameter, the contact area is large, which will cause accuracy error and easy to cause secondary damage. The use of spectral confocal measurement method, through the dispersion of light, directly achieve non-destructive detection, measurement speed and accuracy have a lot of room for improvement, sampling frequency per second up to 10000HZ, very suitable for automated equipment use.
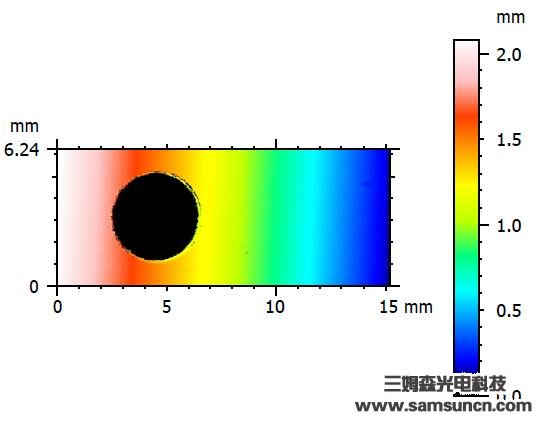
Blind holes in metal parts with beveled surfaces, scanned by a spectral confocal sensor to produce a 2D morphology of the surface
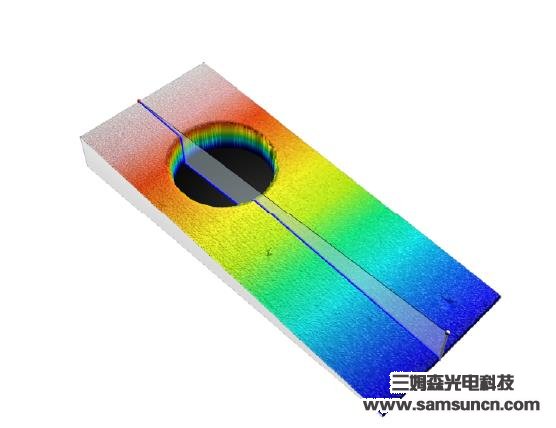
Extraction and analysis of oblique 3D contour maps
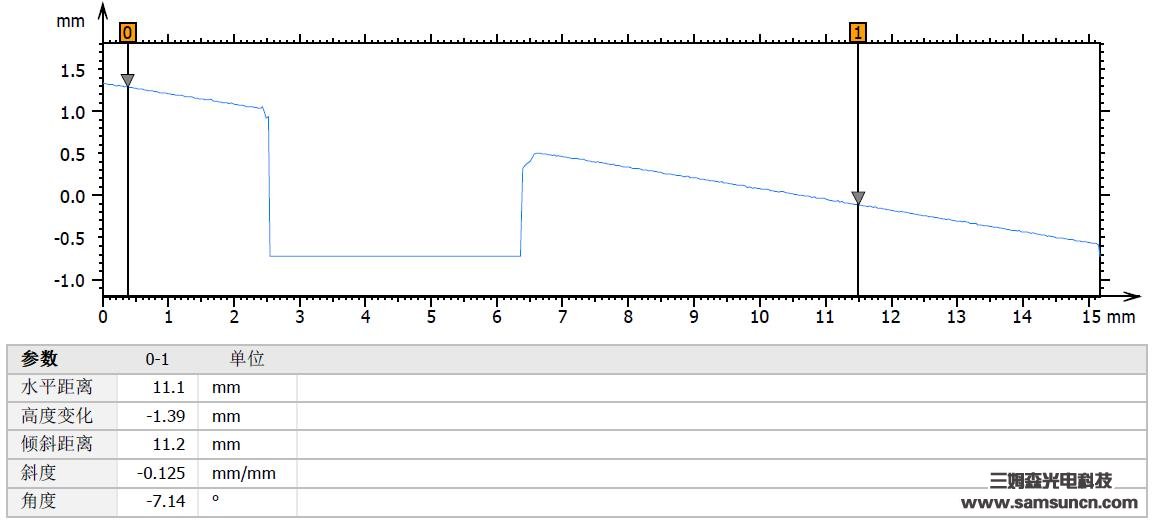
Analysis of the beveled blind hole profile, where the blind hole depth dimensions can be clearly seen
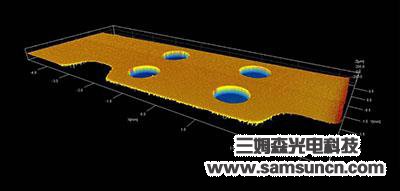
Blind hole 3D model drawing
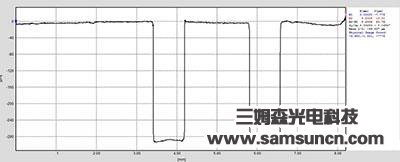
Waveforms of blind hole depth values
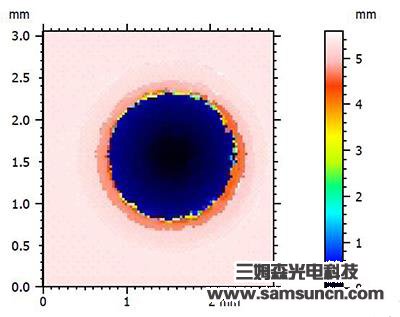
Plan view of blind hole, measuring sample for M2 screw hole, depth approx. 5 mm
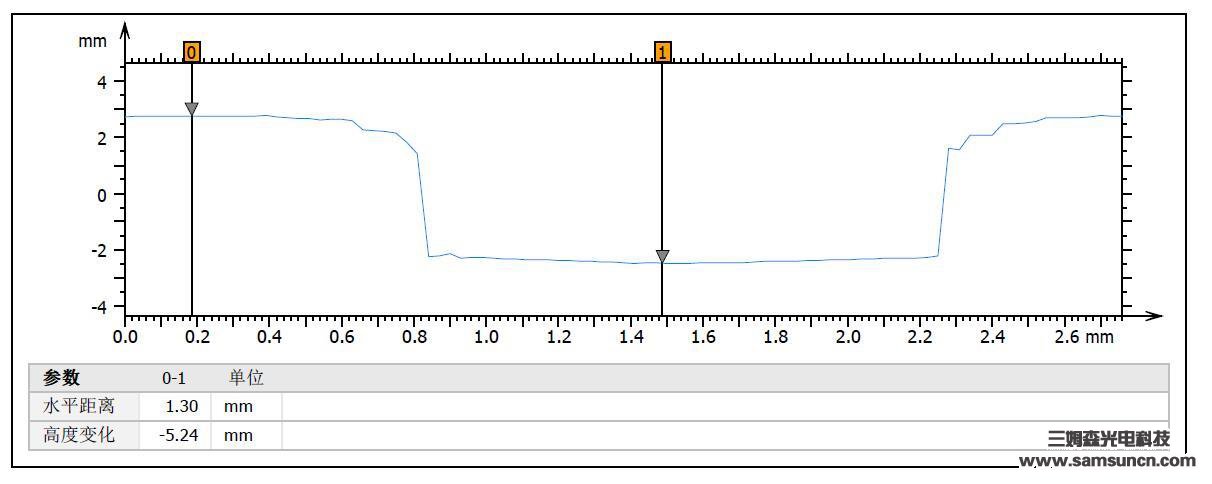
Blind hole depth 5.24mm
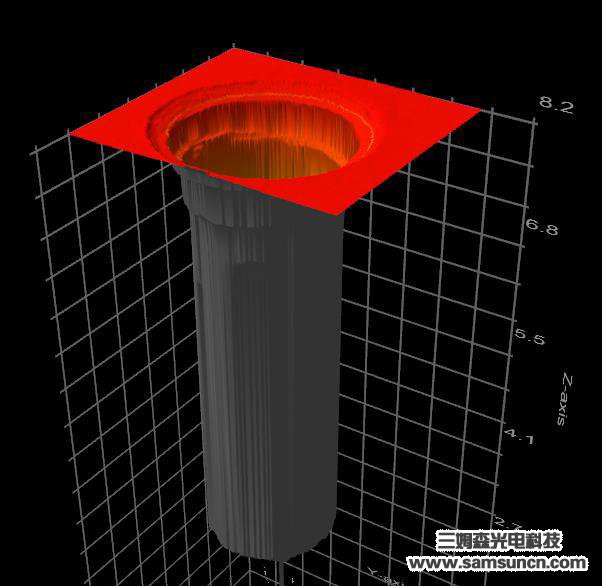
Blind hole 3D view


